First is a self-signed root certificate authority (CA) certificate, which is the top-most certificate in the certificate chain. The Firewall can use this certificate to automatically issue certificates for other uses. In this, you will use the Root CA certificate to generate a new certificate for the Firewall to use for Inbound Management Traffic, replacing the default certificate issued specifically for this environment
login to the firewall by going into the client machine and use the browser
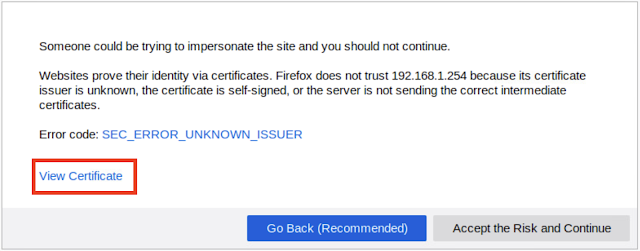
in the browser enter https://192.168.1.254 ( which is the management IP, 192.168.1.1 is the LAN interface IP)
Click on the Generate button
This will generate a certificate for the Firewall to act as a root Certificate Authority (CA). The IP address, 203.0.113.20, used in the Common Name field is the Firewall’s outside IP address. It is best practice that a digest algorithm of sha256 or higher is used for enhanced security. By increasing the default digest to sha512, you have created a much stronger certificate.
Click on the Generate button again
and add the information,
In the Generate Certificate window, click OK to continue
Navigate to Device > Certificate Management > SSL/TLS Service Profile > Add.
Navigate to Device > Setup > Management
Click the gear icon on the General Settings section, located in the center,In the General Settings window, select Management from the SSL/TLS Service Profile dropdown. Then, click the OK button.
Now the profile is configured and attached to management traffic.
we need to export the newly configured root CA digital certificate to use on the end device which is going to connect to this firewall.
Export Certificate and Commit
In the Export Certificate - lab-firewall window, select Base64 Encoded Certificate (PEM) in the File Format dropdown
Save this on the local computer. and commit the change on the firewall, you will see the firewall is going to restart the web services and hang in there at 99%, this is because your browser is still open. close the browser and reopen now.
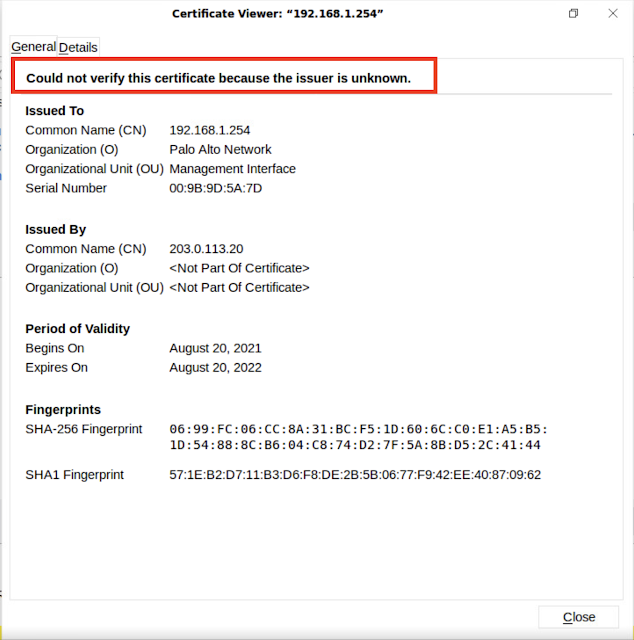
you can see the browser says it could not verify the certificate. because we have not imported this under browser certificates yet. let's import now.


No comments:
Post a Comment