I hope this will help a lot to understand. Alright here we go.
First of all need to download the latest wordpress installation file in this post i am going to use the downloaded linux installation file.
file name: bitnami-wordpress-3.7.1-0-module-linux-x64-installer.run
I uploaded the file to /var/tmp via winSCP.
now lets see the installation steps.
Step 1:
go to /var/tmp
cd /var/tmp
sudo ./bitnami-wordpress-3.6.1-0-module-linux-x64-installer.run --wordpress_instance_name mywordpress
(mywordpress is the site name, later we need to do vhost to access this directly as a domain, until that i ll be accessing the new wordpress site as www.domain.com/mywordpress)

Step 2 :

step 3:

Step 4:

Step 5:

Step 6:

Step 7:
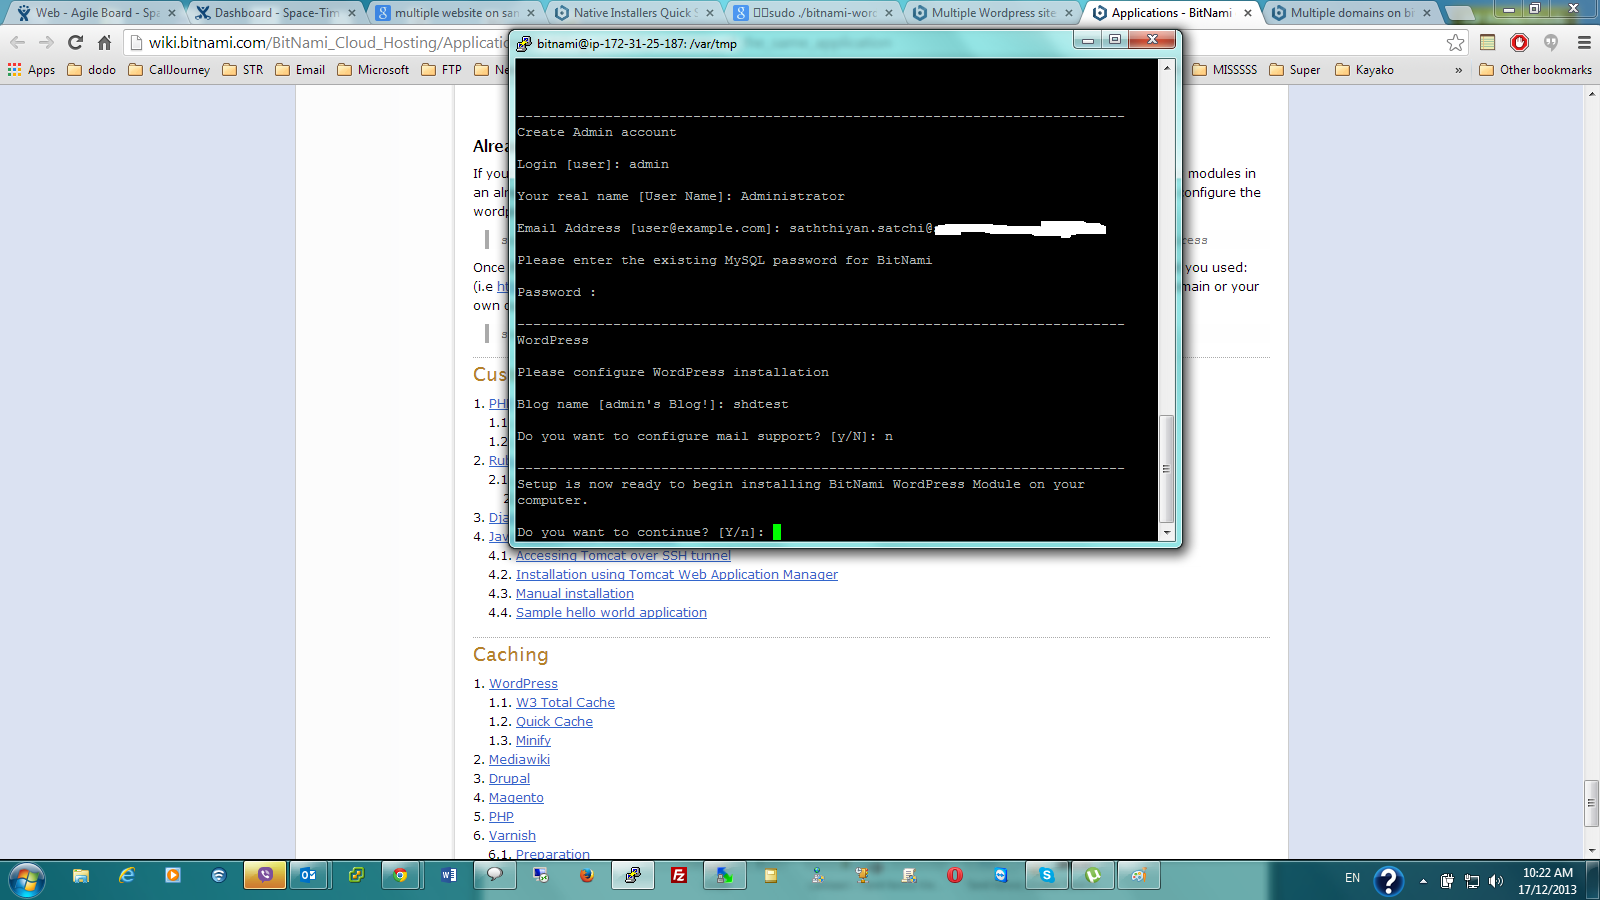
All good , go to the URL and access the site.

No comments:
Post a Comment