We can create roaming profile in 2 different way depends on our need.
1. From Active directory users and computers.
2. From Group policy.
But for both process we need to have a shared location where profiles need to save. And also securing shared location we need to change security permission.
For shared location we create a folder named Roaming profile then right click to the folder name and click on properties.

Go to Properties and Sharing

Click Share this Folder and change the Permissions

Click add and add the following as in the screenshot

Then go and change the permissions
Everyone Only Read Permission.

Domain Admin Full Control


Now go to security tab in Properties.
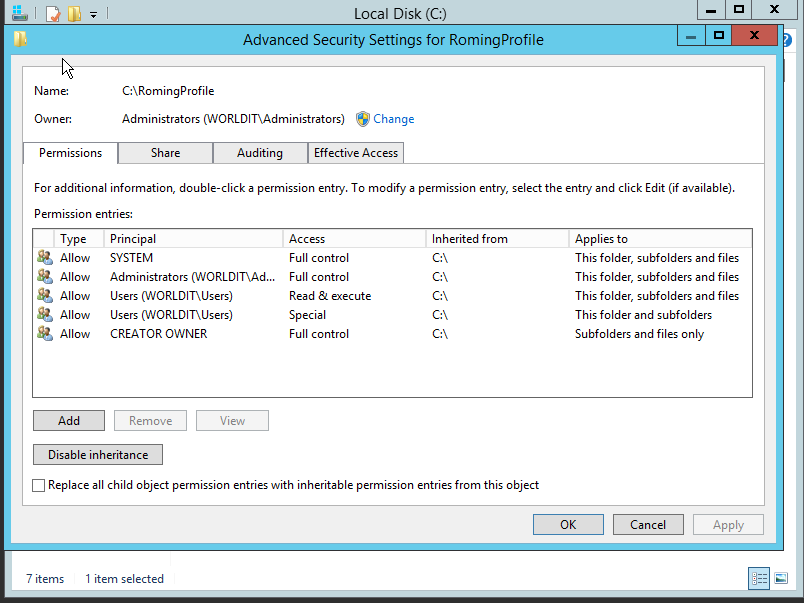
Disable the Inheritance.

We have done the sharing and ready to configure now the Roaming Profile
Lets do
Step 1
1. From Active directory users and computers.
Go to Users and Computers, and select the user you want to configure Roaming Profile.
Right click and go to Properties , Go to Profile Tab.
In Profile Path give your shared folders path with %username%
Type 1:

Type 2 : Find the shared path from the Network Path and copy it.

Using the copied shared network path with %username%

Thats all. we are done.
Method 2:
Using GPO
Create a new Group Policy under Domains and Edit it.

Go to Computer Policy->Computer Configuration->administrative Templates->System->User Profiles.

Enable Set roaming profile path for all users logging into this computer and provide the shared location with %username% then click OK.

Also enable Add the Administrators security group to roaming profiles.

All Done........
